Today in the Studio

Monday, November 8, 2010

I had the pleasure of working with this fab python and zebra fabric which
has an awesome texture much like burlap.

Today in the Studio

Sunday, November 7, 2010

I took full advantage of the extra hour and whipped up two new designs for the Etsy shop. Go me!

Not all fabric is created equal

Monday, October 18, 2010

When it comes to fabric shopping, there are indeed many choices to be made. Depending upon your project, you may have identified a specific type of material that is well suited to your design or taste, such as cotton, canvas, wool, silk and the like. You may even have a specific color in mind. For my purpose---creating stylish diaper bags and totes that will last for years to come---I prefer to work with top quality quilting and fashion fabric by well known designers like Amy Butler, Joel Dewberry, Anna Maria Horner, Heather Bailey and Tina Givens.

The old adage “you get what you pay for” is absolutely true when it comes to textiles. Quilting fabric typically costs $8 to $12 per yard. Lower end cotton prints can be found from .99 cents and up, per yard and I assure you, when in hand you will be able to feel the difference between the two materials. This is called the weight of the fabric and it is the single most important factor in creating a durable product. The higher the weight, the higher the price and the longer the product will last.

Many quilt weight fabrics also offer exceptional stain resistance. In our house, we have a set of placemats crafted from Amy Butler’s Love collection that are used daily; and, every time I wash them, I am absolutely amazed how great they still look. Not a single stain, despite the best efforts of our four kiddies who have spilled grape juice and marinara sauce on them! Another benefit of quilt weight fabric is that it holds the color nicely, even with repeated washing. Generally, I wash my personal bags a couple times a year and am always pleased with their appearance afterwards.

‘Sew’ people, when faced with the decision to purchase the bargain bin fabric or not, think first about the purpose of the product. If you would like to wash it and need it to hold up to everyday use, I highly suggest not settling for a lower quality material. Likewise, when shopping for handmade goods, particularly bags, don’t be shy about asking the maker what type of material they use and why?

Aldie Harvest Festival Round Up

Sunday, October 17, 2010

Yesterday, the girls and I took the bags down the road, a short distance from Middleburg, to the Aldie Harvest Festival. We enjoyed visiting with our customers, a beautiful Virginia fall day and some really amazing fried chicken! Sales were good and the event as a whole appeared to be a success, despite some challenges with the wind which was gusting upwards of 25 knots.


Folded flower tutorial and giveaway

Thursday, October 14, 2010

Luther Burbank once said, “Flowers always make people feel better, happier and more helpful; they are sunshine, food and medicine for the soul.”

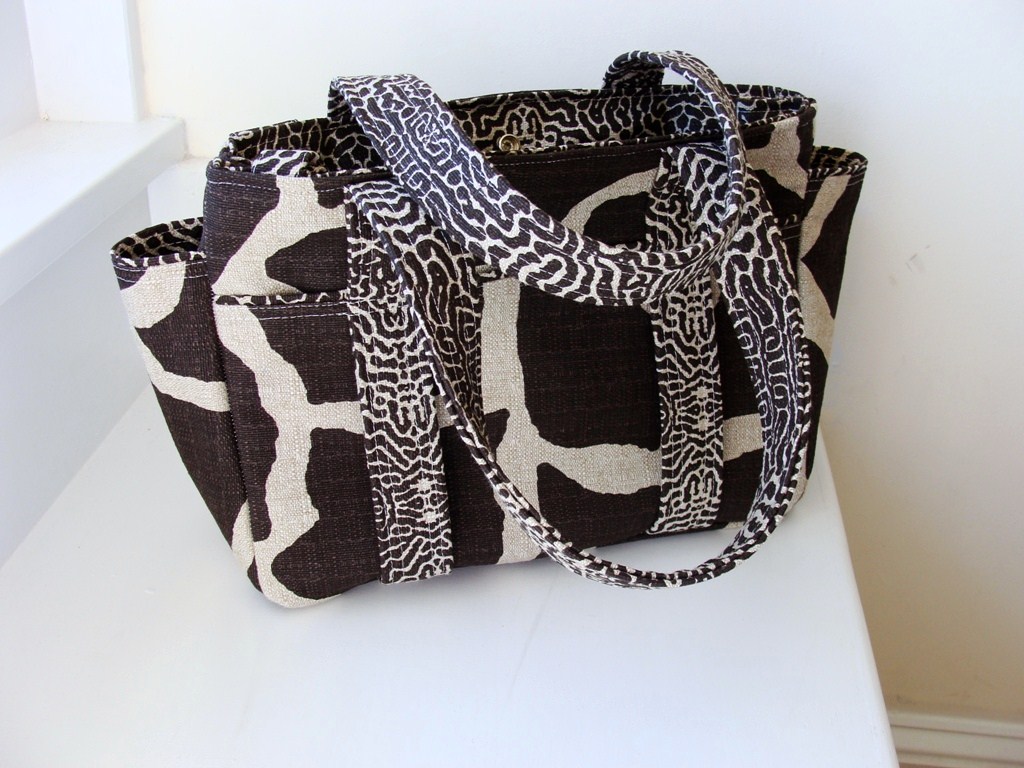
Crafted from fabric scraps, these folded flowers are a great way to add some color to the winter days ahead.

Each flower requires 7 to 8 circles. The circumference is up to you. The smaller the circle the more difficult it will be to fold. I used a 4” sizzix die to cut my circles, but you could just as easily trace a glass and achieve the same result.


Materials:

• Double threaded needle with 12” tail

• Fabric scraps

• Button

• Felt scraps

• Hot glue or craft glue

Step 1: fold the circle in half

Step 2: fold the corners of each half circle inward to meet in the center and form a triangle

Step 3: place the side of the triangle with the open center seam facing down and fold the corners of the triangle in to meet in the center of the side that does not have the seam

Step 4: fold the petal in half again and thread onto your needle

Step 5: repeat steps 1 through 4 until all petals have been threaded

Step 6: fashion the petals into the shape of your flower and secure the ends of the thread together; but do not cut the thread

Step 7: use the uncut needle and thread to attach the button to the center of the flower and tuck the remaining thread into the center of the flower

Step 8: from the underside fill the center of the flower with glue and cap with a small piece of felt

Optional: A hair clip, safety pin or similar mechanism can be attached to the felt prior to gluing it in place to make the flower removable.


For fun! Post a link to your favorite free craft tutorial below and you will be entered into a random drawing to win a Watermelon Wishes fabric flower. Drawing will take place Oct. 21 and the winner will be announced shortly thereafter.